Sep. 08, 2023
Agriculture
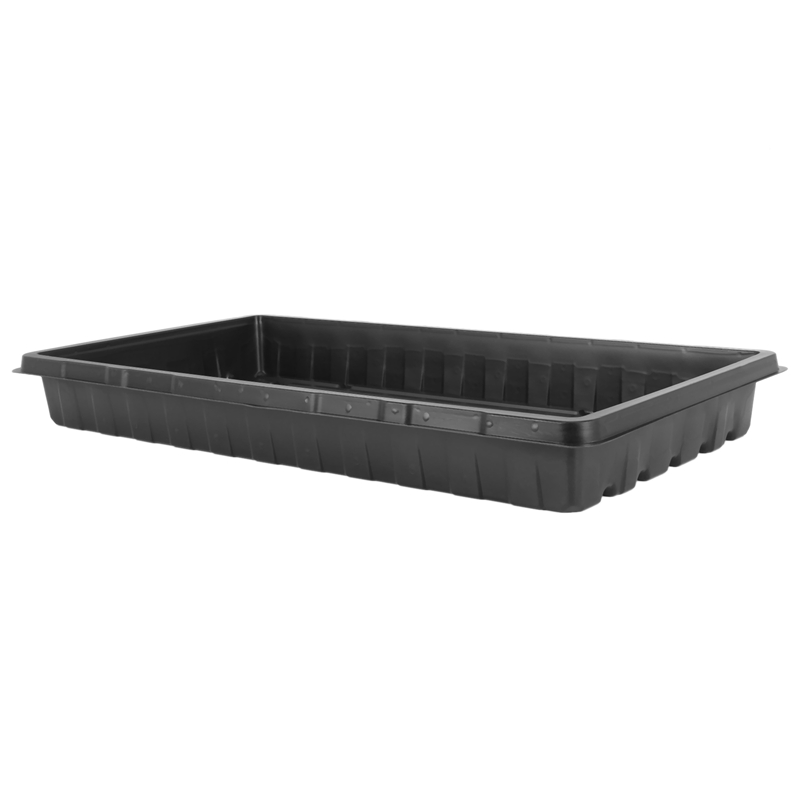
Planting seeds in a planting flat tray is a fundamental step in starting your garden from scratch. Here's a step-by-step guide on how to plant seeds in a planting flat tray:
Materials You'll Need:
Seed-starting mix or potting soil
Seeds of your choice
Small hand trowel or dibber
Watering can or spray bottle
Plastic dome or plastic wrap (optional)
Labels or markers for identifying seeds
Steps to Plant Seeds in a Planting Flat Tray:
Prepare Your Tray:
Choose a clean and sterile planting flat tray. Make sure it has drainage holes at the bottom to prevent overwatering.
If your tray is not new, clean it thoroughly to remove any debris or residue from previous use.
Select Your Seeds:
Choose the seeds you want to plant. Consider the specific requirements and growing conditions for each type of seed, such as sunlight, temperature, and planting depth.
Fill the Tray with Seed-Starting Mix:
Fill the planting flat tray with a high-quality seed-starting mix or potting soil. Seed-starting mixes are well-draining and provide the ideal conditions for germination.

Level the Soil:
Use a flat board or your hand to gently level the soil surface in the tray. Ensure it is even and smooth.
Plant the Seeds:
Follow the recommended planting depth and spacing guidelines for each type of seed you are planting. You can find this information on the seed packet.
Use a small hand trowel, dibber, or your finger to create small holes or furrows in the soil at the appropriate depth.
Place the seeds in the holes or furrows, making sure they are evenly spaced. If you're planting different types of seeds in the same tray, leave enough space between them for growth.
Cover and Label:
Carefully cover the seeds with a thin layer of seed-starting mix or soil as specified on the seed packet. This layer should be just enough to cover the seeds without burying them too deep.
Label your tray with the name of the seeds, the date of planting, and any other relevant information. This step is crucial for keeping track of your seeds as they germinate and grow.
Water Gently:
Use a watering can with a fine rose or a spray bottle to moisten the soil surface gently. Avoid flooding the tray, as this can dislodge seeds or create overly wet conditions.
Ensure the soil is evenly moist but not waterlogged. You can also cover the tray with a plastic dome or plastic wrap to create a mini-greenhouse effect, which helps retain moisture.
Provide Proper Lighting and Temperature:
Place your Hydroponic Trays in a location with the right amount of sunlight or artificial light. Refer to the seed packet for specific light requirements.
Maintain the recommended temperature for germination, which may vary depending on the type of seeds you're planting.
Monitor and Maintain:
Keep a close eye on the soil moisture level. Water when the top of the soil starts to dry out.
As the seeds germinate and grow, remove the plastic dome or plastic wrap to allow for proper air circulation.
Transplant Seedlings:
Once your seedlings have developed a few sets of true leaves and are large enough to handle, you can transplant them into larger containers or directly into your garden.
By following these steps, you can successfully plant seeds in a planting flat tray and kick-start your gardening journey. Remember to provide the right care, including water, light, and temperature, to ensure healthy seedling growth.
If you are interested in sending in a Guest Blogger Submission,welcome to write for us!
All Comments ( 0 )